Hey everybody!
I know it has been a while since I have posted, but school sort of took me by surprise. I hope that this pattern will help make up for it!
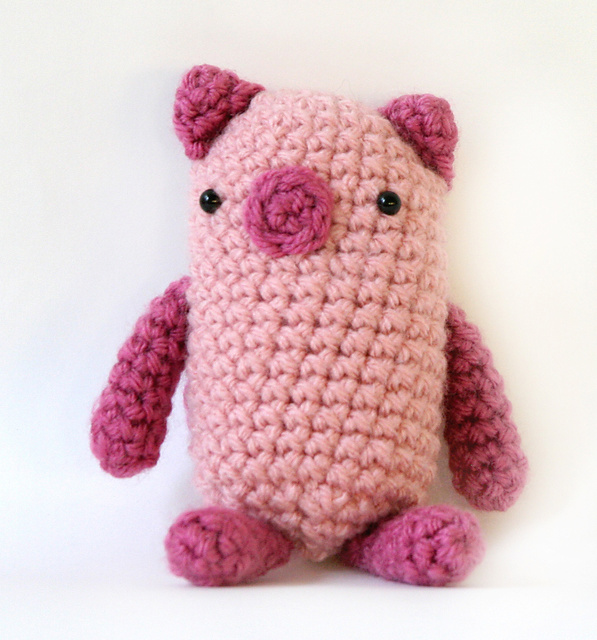
My Darling Rabbit
Supplies:
Brown cotton yarn
White cotton yarn
4 mm crochet hook
yarn needle
stitch marker
some kind of stuffing
Pattern notes: This rabbit is worked from the legs upwards. Each leg is made individually, and then they are joined together and worked up from there. At various points throughout the pattern, it will become convenient to sew on parts of the amigurumi as you make the larger body, such as the tail, white stomach, and arms. These points will be indicated in the pattern for the main part of the rabbit, and the order in which the patterns for the various pieces are listed are the order in which I found it best to make them.
Stomach:
- In white, ch 6
- Row 1: Sc in 2nd st from hook and across. When the end of the row is reached, sc down the other side in the backs of the stitches you just worked. (10 sts)
- Row 2: Sc 2 in each st around. (20 sts)
- Row 3:*Sc 1, then sc 2 in next* around (30 sts)
- Finish off
Tail:
- In white, make a small pom pom.
Arms (make 2) :
- In brown, ch 4
- Row 1: Sc in 2nd st from hook and across. When the end of the row is reached, sc down the other side in the backs of the stitches you just worked. (6 sts)
- Rows 2-3: sc in each st around. (6 sts)
- Row 4: *Sc 1, sc2tog* around. (4 sts)
- Row 5-9: Sc in each st around.
- Finish off.
Body:
1. Ch 5
2. Row 1: Sc through the back loop of the 2nd st from the hook. Sc through back loops only for the rest of the row. When you reach the end of the row, sc back through the remaining front loops. From now on you will be working in the round. (8 sts)
3. Rows 2-10: Sc around.
4. Finish off. You have completed one leg. Now, repeat steps 1-3, but when you reach the end of row 10 do not finish off.
5. Now you will join the two legs together by crocheting around the tops of both of them. Ch 2. join the first leg to any part of the top of the 2nd with a slip stitch. Then crochet around the second leg until you reach the beginning. You might want to leave 1 or 2 sc between the first join and the point where you join the 2nd leg back to the first. Now, ch 2 again and join to the first leg using a sl st. You should now have a single circle of stitches that can be worked up to form a cylindricalish shape that will be the torso. (If you notice that 2ch is leaving an awkwardly large gap you can just do 1ch instead).
You will notice that because of the 2ch there is a bit of a gap visible through which stuffing might escape. I recommend sewing this up now because later it will be an absolute pain to do. Also, at some point soon you should consider sewing on your pompom tail.
6. Now that you have formed the base of the torso, work 12 rounds even (sc 1 in each st). Consider stuffing the legs. Sew on the stomach.
7. The next few rows will be the head-ish section. *Sc2tog, crochet half way around, sc2tog*. Work the next row even. Then repeat from *to* for the next row. Now is a good time to start stuffing the torso.
8. Ears! Sc a quarter of the way around, about where is shown below. Then, slst to the other side of the oval. This is one of the ears. Work even for about 6 rows. Then, sc2tog all around. Repeat until there is one st left on the hook. Finish off and weave in ends. Finish stuffing the body. (I didn’t stuff the ears).
9. Join yarn as close as you can to the base of the first ear. Sc around to the other side, then sl st across the oval. Work even for about six rows, then sc2tog all around. Repeat until there is one st left on the hook. Finish off and weave in ends.
10. You’re done! Congratulations